Hello everyone… Welcome spring and new adventures.
I have been off the grid for a bit. Well, the blogging grid that is. It's been a busy winter. And what a winter it was. I'm going to do a quick catch me up.. so be prepared 6 months in a flash…..
******One quick disclaimer.. At this time I have no affiliation with any products or shared tutorials. Other than maybe belonging to a shared interest group. I simply share this information to pass on knowledge.
Give me a hammer, a flame and a piece of metal and I'm in heaven.
My latest project was been this air chased bracelet. The inspiration came from this
tutorial video posted in a metals group I belong to. Kharisma is a wealth of inspiration and energy. It's fun to watch her videos and get all caught up in her enthusiasm . This was so much fun that I have made a few more.
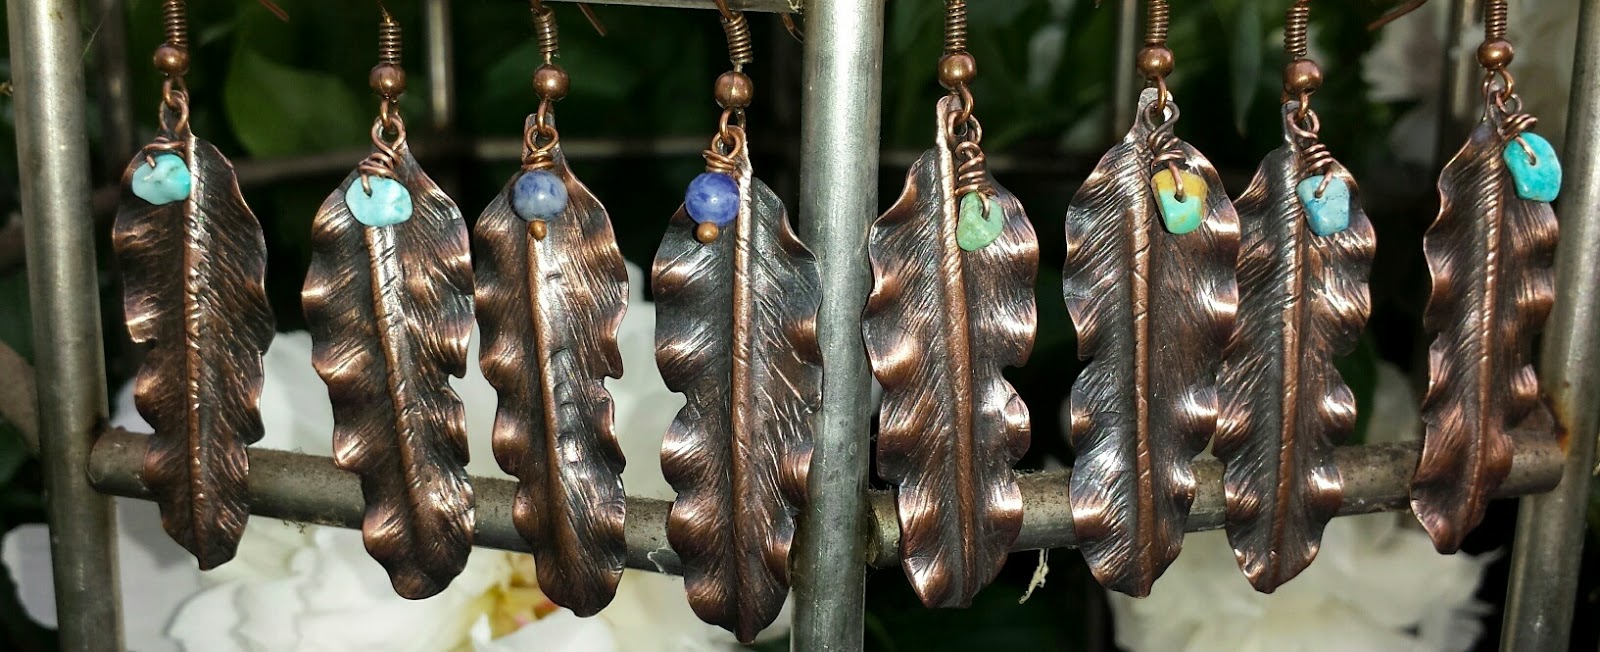
My Mule Team earrings. I am addicted to this process.
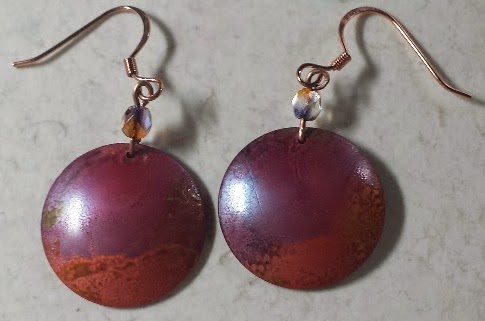
Sarah Boo's Musing shared her process
here. As you can see I did not get the red but love the purple and coral tones I did achieve. I have my notebook out and taking notes. Will be changing up the water (used tap here) to bottled and distilled. I used my MAP torch. Going to try it with butane and propane. Sounds like a whole blog post dedicated to the process.
In my Charming world.. I participated in a bird, a caged bead, game piece, watch parts and a gift card swaps. At one point this was sitting on my bench.
Up close and personal… charms, charms, charms…. Fabulous swaps and so much fun.
Lucky Squirrel white shrink plastic, sharpie pen and rubbing alcohol. I created a faux bone effect with my chick in a dress by
Invoke Arts. I wish I could remember what die the bird cut out is. Its a set of two and a fairly new die.. like released the last 6 months.
Caged bead swap. I made these brass cages first. Then reread the instructions to realize they needed to be made of silver.. No hurt feelings here. I was really debating on sending them any way. I like them so much. They are created with brass beads, bead caps and jump rings. I colored the center bead with Vintajs Opalite patina.
Caged beads that were the result of following the rules.. lol. Don't you hate it when you are so excited about a project and skim the rules.. Lampwork bead, wire, bead caps and balled heads pins.. Simple as that.
I hosted this swap in a charm group I belong to. Actually all these charms are for
ArtCharms yahoo group. The rules for this was to create something from those pretty gift cards we all get. Here was my contribution.. Steak and Shake. It was hard to get a good picture. They are metallic and holographic. Plus of I loved that 50's feel.
This was such an amazing swap. I will have to ask if I can share some of the others creations. I was totally amazed and what others created.
Game piece swap. Above in the tray is a pile of space ships. Those came from a game my boys had and I just couldn't get rid of them. Below monopoly. I used wooden house shapes and covered them with monopoly chance and community chest cards and then sealed them. Each one is different. Again another fun swap.
Last but not least.. watch parts. I just finished these up. This one was a struggle for me. I have many prototypes. Shrink plastic which I ran through my printer and then used watch gears.
Well folks that does it for now. Many, many more things to share and on the bench. But this turned out to be a long post. I just couldn't stop and or decide what to share.. so went for it all. Enjoy.


-2.jpg)